So - I'm assuming that you have VNC up and running, working if you start it manually after each boot. If not, take a look here.
Create startup file
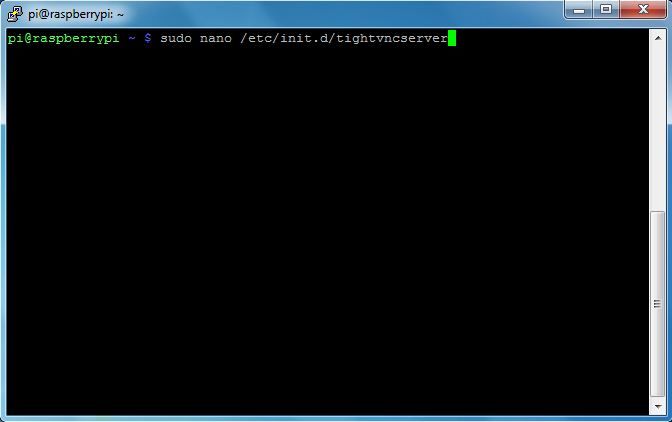
The first thing you need to do is create the file that will actually start VNC on startup. I'm doing this via Putty (instructions here), but you can just as easily use Terminal directly from the Pi.
Type the following:
sudo nano /etc/init.d/tightvncserver
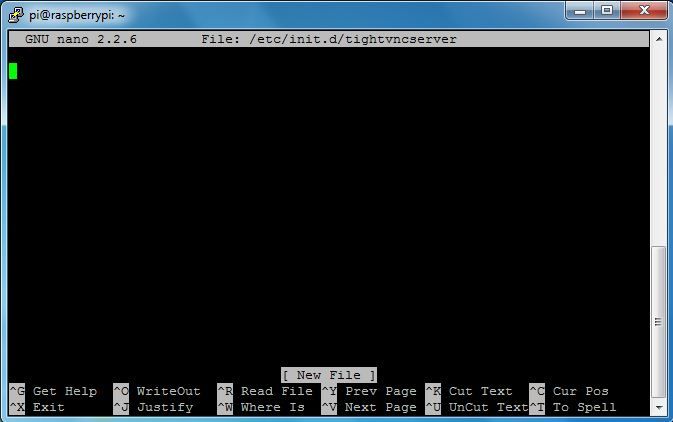
NOTE: nano is a lightweight editor - the command above will create a new file called tightvncserver in the /etc/init.d directory and open it for editing, presenting the following screen (note the [ New File ] entry at the bottom, indicating a new file):
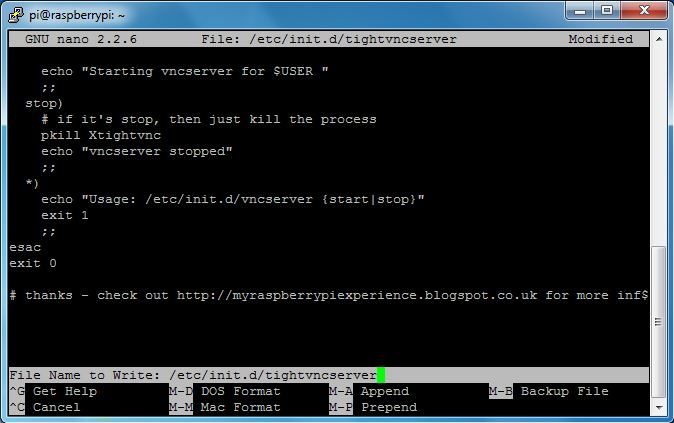
Once you have the file open, paste in the following:
# First configure the user you want to run this under - this will generally be pi, unless you've created your own users
export USER='pi'
eval cd ~$USER
# Check the state of the command - this'll either be start or stop
case "$1" in
start)
# if it's start, then start vncserver using the details below
su $USER -c '/usr/bin/vncserver :1 -geometry 1280x800 -depth 16 -pixelformat rgb565'
echo "Starting vncserver for $USER "
;;
stop)
# if it's stop, then just kill the process
pkill Xtightvnc
echo "vncserver stopped"
;;
*)
echo "Usage: /etc/init.d/vncserver {start|stop}"
exit 1
;;
esac
exit 0
# thanks - check out http://myraspberrypiexperience.blogspot.co.uk for more info!
NOTE: In the file I've specified my own resolution with the text -geometry 1280x800 - you can leave this out of you want
This will be what your screen now looks like.

To exit, press Ctrl+X. You'll be prompted to save - just type Y:

You'll be prompted to confirm the filename - just press Enter:
Once that's done make sure the file has the right propertied by typing the following:
sudo chmod 755 /etc/init.d/tightvncserver
NOTE: Important to do this step every time you modify this file. I redid these steps to create the tutorial, skipped this step and couldn't VNC in on the reboot!
Add File to startup sequence
And now just add your file to the list of startup actions by typing the following:
sudo update-rc.d tightvncserver defaults
And that should be it! Just restart, and you should be able to VNC straight in!